Showing posts with label Recipe. Show all posts

Friday, October 04, 2013

GFCF Apple Streusel Bread


I made this last night - it is all gone already and my family is begging me to make it again.  It reminds me of my childhood in the early 1960s when my Mom would have Coffee Klatches with the neighbor ladies.  Sweet breads like this and coffee were the perfect combination while the women caught each other up on neighborhood news. 

If you are not gluten free - just substitute regular flour and omit the xanthan gum from the recipe. 

Enjoy!


Gluten and Casein Free Apple Streusel Bread
Chop up 2 apples, set aside

Combine in a small bowl:
1/3 cup brown sugar
1 teaspoon cinnamon. 
Mix with chopped apples and set aside.
Beat in a medium bowl:
2/3 cup sugar (use more if you want a sweeter bread)
½ cup coconut oil (or use butter or margarine)

Beat in 2 eggs, one at a time.

Stir in 1 ½ teaspoon vanilla
Stir in:
1 ½ cups gluten free flour mix
½ teaspoon xanthan gum (omit if using a flour mix that contains it)
2 teaspoons baking powder

Dough will be stiff

Beat in ½ cup vanilla almond milk (or any milk or milk substitute) until smooth.

Pour half of the batter in a well-greased 9 x 5 loaf pan.

Add half of the apple mixture.

Top with the rest of the batter and then the rest of the apple mixture on top.  Pat top apples down into batter.

Bake at 350 degrees for 40 to 50 minutes or until a toothpick inserted in the center comes out clean.


Monday, September 30, 2013

Apple Pie Bars


Another use for Apples!  These are so good.  I made these using fresh apples (since I have so many right now) but they would be equally as good made using my apple pie filling.  This would be good to take to a pot luck. 

As usual this recipe is gluten and dairy free - just substitute regular flour and omit the xanthan gum and use real milk and butter if you prefer. 

This is one recipe that may have a lot of steps but it won't disappoint.

Gluten and Casein Free Apple Pie Bars
In a small bowl:
Beat 1 egg yolk (save the white – it will be used later)
Add ½ cup vanilla almond milk and mix well.

In a medium bowl:
Combine:
2 ¾ cup gluten free flour mix
½ teaspoon xanthan gum (omit if using a flour mix that already contains it)
1 teaspoon sea salt
Cut in 1 cup of your preferred butter substitute – I used earth balance spread.

When mixture looks like coarse crumbs, stir in egg/milk mixture and mix until it forms a ball.  
Divide dough in half.  

For filling:
Chop up 6 cups of apples. 
In a small bowl:
Combine 1 cup sugar (you know I prefer raw organic but any sugar will work) with  6 teaspoons minute tapioca, 1 ½ teaspoons cinnamon and ½ teaspoon nutmeg. 
Pour over apples and mix.
easpoon nutmeg. 
Pour over apples and mix.up so the filling sticks up sugar (you know I prefer raw organic but any sugar will

Roll one half out between two layers of plastic wrap (wet the counter before putting down the first piece of plastic wrap so it sticks to the counter and doesn’t move while you are rolling.  Roll out to fit in the bottom of a 9 by 13 inch baking pan. 

Pull top layer of plastic wrap off dough and invert into pan.  Cut and trim so dough perfectly covers the bottom and doesn’t go up the sides.

Pour apple filling over bottom layer of dough.

Roll out the rest of the dough between two pieces of plastic wrap to fit on the top of the apples – it will be slightly larger than the first sheet was.  Pull top layer of plastic wrap off and invert over the top.  Trim to fit perfectly on top.

In another small bowl, combine 2 tablespoons sugar with ½ teaspoon cinnamon. 

Beat reserved egg white with a fork until foamy.  Brush over the top crust (you probably won’t use all of the egg white – just make sure you have covered the entire top crust).th a fork until foamy.  Brush over the top crust (you probably wo'im to fit perf  Sprinkle sugar/cinnamon mixture over top crust.

Bake at 350 degrees for about one hour (check after 45 minutes) or until nicely browned and you see juices bubbling. 

Note – this dough can be hard to handle – rolling it between plastic wrap makes the dough easier to handle and easier to move to the baking dish.   Using dairy substitutes may give you differenn egg/milk mixture and mix until it forms a ball.  If


Friday, September 27, 2013

Apples, apples, and even more apples!

The tree is loaded - it doesn't even look like I've picked any - but believe me, I have!

The dehydrator is full of apple slices (and diced apples and apple rings)

I have lots of apple juice waiting to be made into jelly!

I have dozens of jars full of dried apples!

I've also been baking with them - check out these great apple fritters I made last night.  They were a big hit in my household.  I'll post my recipe below - if you aren't gluten and dairy free like my family just substitute regular flour and omit the xanthan gum and use regular milk. 

Gluten and Casein Free Apple Fritters

2 large (or 3 medium or 4 small) tart apples, peeled and diced

Combine in a medium bowl:
2 cups gluten free flour mix (I used Bob’s Red Mill)
1 teaspoon xanthan gum (omit if using a flour blend that includes it)
¾ cup raw organic sugar (use white sugar if you must but it won’t be as healthy)
2 ¼ teaspoons baking powder
1 teaspoon sea salt (again use regular salt but it won’t be as healthy)
2 teaspoons ground cinnamon

Combine in a small bowl:
2 large eggs,  beaten
¾ cup vanilla almond milk (or use the milk or milk substitute of your choice)
2 teaspoons vanilla
2 tablespoons coconut oil melted if solid (or use the melted butter substitute of your choice)

Add the wet ingredients to the dry ingredients and mix until just combined – do not over mix!

Gently fold in the apples – you want tons of apples to poke out – if they don’t poke out – add more apples. 

Drop a teaspoon full into hot oil (I use a fryer but you could also heat a couple of inches of oil in a cast iron or heavy duty frying pan).  Turn it over when it browns on one side.   Drain on paper towels – cut the first one open and make sure it cooked all the way through – if you still have batter in the middle, make the rest smaller – if it is cooked through, then you are good to finish the batch with that size. 

I think these are perfect as is – but you can dust with powdered sugar when warm or pour a light glaze over them. 


Sunday, September 08, 2013

Homemade Granola Take Two

The first batch of granola is already gone.  My teenager ate the last of it up today.  It was so good that I made another batch right away. 

I didn't mess with the recipe though - it was perfect.  The only thing I changed was I used a mixture of dried fruit instead of just plums.  I used dried raspberries, strawberries and plums. 

The recipe is here if you don't want to go looking for it.

Thursday, September 05, 2013

Home Made Granola!

Home made granola is so versatile - you can add whatever you want.  Don't like cinnamon?  Leave it out - love it - put extra in.  I have been drying diced plums like crazy the past two weeks and wanted to use some in granola. 

Here is my recipe  - feel free to change it to suit your individual tastes.

Plum Granola

Mix in large bowl:
4 cups old fashioned oats
3/4 cup oat bran
3/4 raw sunflower seeds
1 1/2 cups chopped raw almonds

Mix in small saucepan and bring to a boil:
1 cup maple syrup (the real stuff from trees)
1/4 cup brown sugar
1/4 cup honey
1/3 cup canola oil
1/2 teaspoon sea salt
1 tablespoon cinnamon
1 tablespoon vanilla

After mixture comes to a boil, turn it off and pour it over the oat mixture in bowl.  Mix thoroughly. 

Place on cookie sheets or baking pans lined with parchment paper. 

Bake in a 325 degree oven for 20 to 30 minutes depending on how thick your layers are.  Stir every 5 to 10 minutes.  Watch it closely.  It can go from almost perfect to burned in just a few minutes.  It is done when it is lightly toasted. 

Remove from pans and mix in 1 1/2 cups dried plums.  Cool and store in an airtight jar. 

Makes about 10 cups!

Sunday, March 17, 2013

Weekly Check In - St. Patty's Day

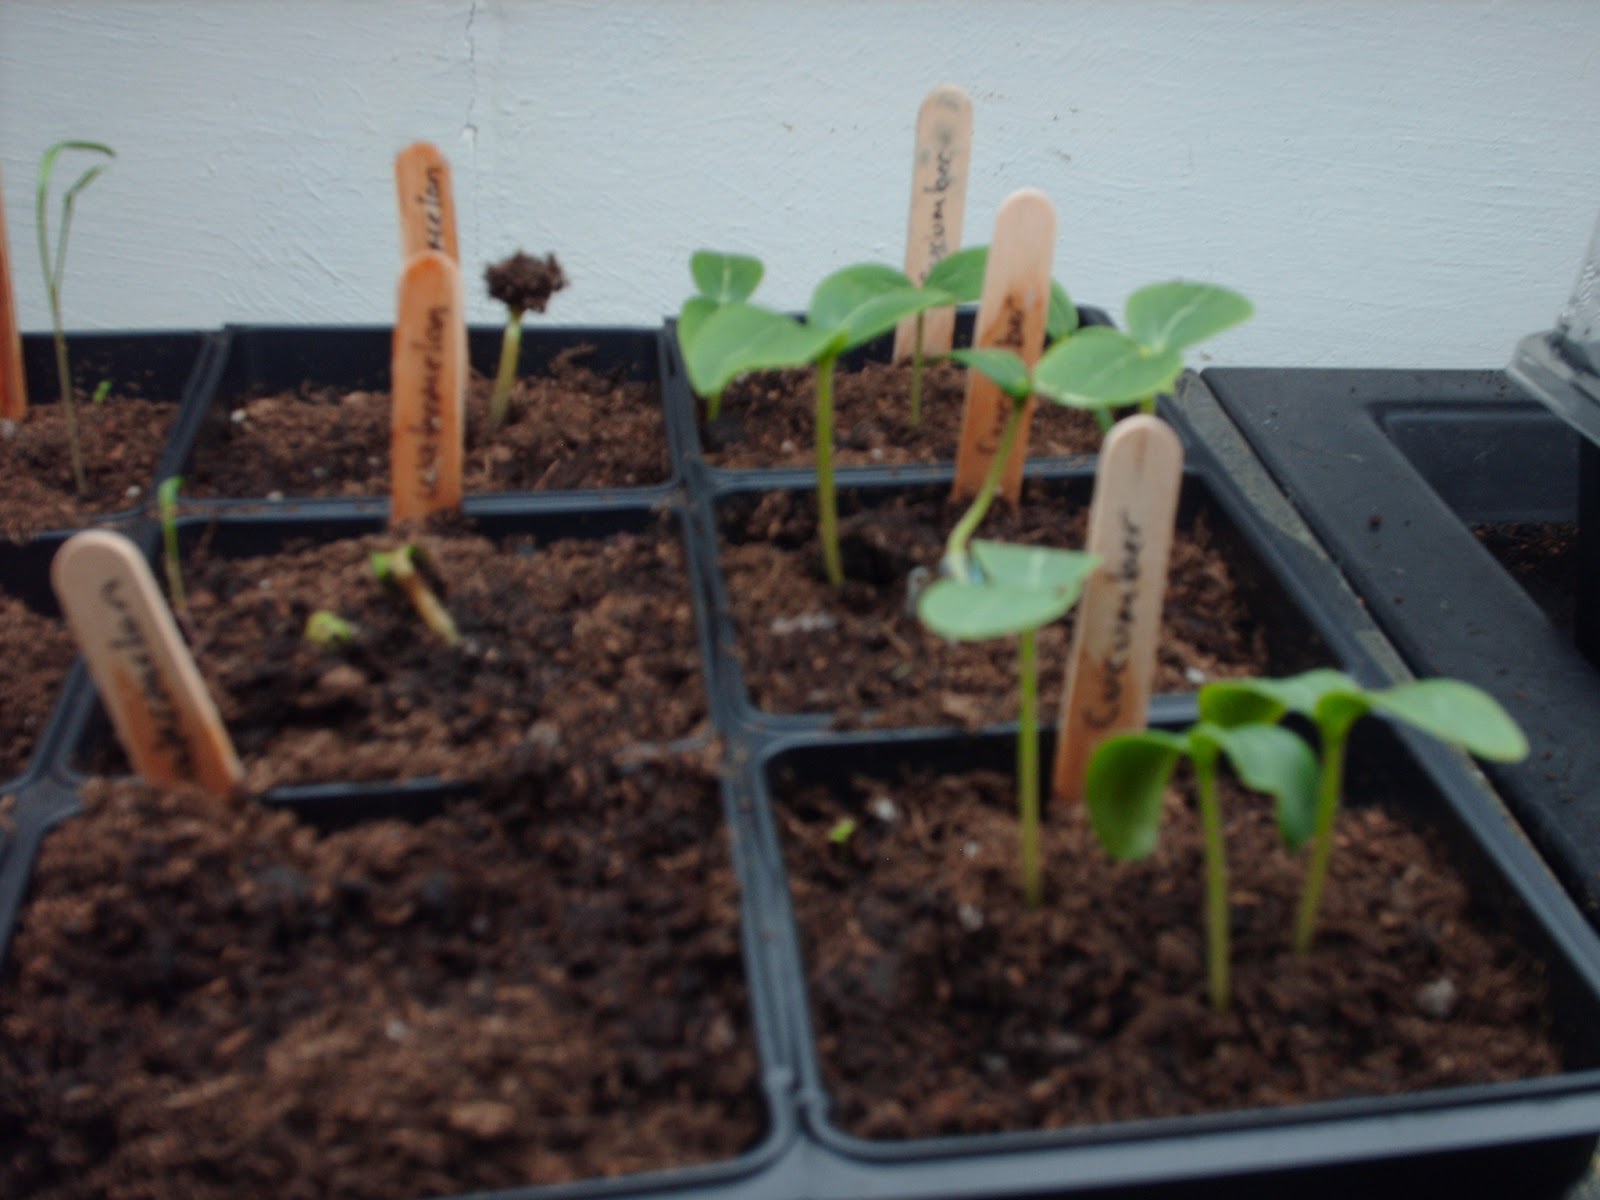
It has been one week since I planted my seeds and most of them are now seedlings.  The peppers are the only ones that haven't sprouted yet.  I only have a heating mat under half of them so I've been rotating them as they sprout.  The peppers haven't been on the heat mat that long yet.  Since they are heat lovers I should have had them on the heat mat first. 

Last year on St. Patty's Day it was 80 degrees and Spring had come early to Minnesota.  Today it is in the 30s, we have lots of snow and are expecting more snow tonight.  March is so unpredictable here.


I am trying to use up the last of last year's veggies.  I have beef stew in the slow cooker for tonight because it is the only way I can get my family to eat parsnips and they are starting to grow a lot of tiny little roots and are looking quite hairy.  I like parsnips but I don't like them enough to eat them all up myself.  I can get the husband to eat them roasted with other root veggies but the kid will pick them out.  Everyone eats them mixed in with beef stew though - of course that is because kiddo doesn't know they are in there.

I also cooked up a few squashes and made some puree that I turned into delightful mini bundt cakes that are disappearing fast.  Kiddo saw me cooking up the squashes (which he thought were pumpkins) and reminded me that he doesn't like pumpkin.  I reminded him that he does when they are made into muffins. 


Mini Squash and Pineapple Bundt Cakes

1 1/2 cups flour (I used Bob's Red Mill gluten free flour - but you can use any flour)
1/2 teaspoon salt
1 cup sugar
1 tsp baking soda
1 cup squash puree
1/2 cup coconut oil (or any shortening or butter or margarine)
2 eggs, beaten
1 small can crushed pineapple, drained
1/4 cup water
1/4 tsp nutmeg
1 tsp cinnamon
1/4 tsp allspice
1/4 tsp cloves

Heat oven to 350.  Sift together the flour, salt, sugar and baking soda.  In a separate bowl, combine the remaining ingredients.  Pour into bowl with dry ingredients and mix until just combined.  Pour into greased mini bundt pans (or muffin cups).  Bake 20 minutes or until they test done with a toothpick.  Remove from pan.  Cool. 

Icing is optional.  I used a cream cheese icing (made with Tofutti brand fake cream cheese since we are dairy free). 

Enjoy!

Please leave a comment and let me know how your garden it growing.

Sunday, October 23, 2011

Apple Jam, not Jelly!


I decided that I wanted to make Apple Jam this year instead of Apple Jelly. First of all, for those of you who don't know the difference between the two, jam has bits of fruit in it and jelly is made from strained juice. Some fruits are more popular made into jelly (apple, grape, peach) and others you only think of as jam (strawberry).

So, why jam instead of jelly? Several reasons actually - first of all, the time. It takes a long time for the juice to drip down through the cheese cloth - I usually have to start it the day before I actually want to can it. Second is the waste - it just seems so wasteful to throw all of that apple pulp on the compost heap. I also kind of feel like a jam with bits of fruit in it is probably healthier than jelly and probably (although I haven't researched it) a source of fiber.

Having made the decision to make apple jam instead of jelly, I set out in search of a recipe and couldn't find one I liked. I didn't want one with caramel (kind of negates the health benefit) or one that tastes like apple pie. I also wanted one that uses commercial pectin. I know that apples contain a lot of natural pectin and it really isn't necessary to use pectin but I like to use the smallest amount of sugar I can and still get a good gel and pectin allows me to do that. I also didn't want big chunks of fruit in my jam - I want a smoother consistency that is easy to spread on my toast.

According to my almost 12 year old (how did he get to be this old?) taste tester, I got it right on the first try!


This is how I made it -

First I started out just like I was going to make applesauce. I washed my apples and just cut them into chunks - cores and skins and all. I only cut off the obvious bad spots.

I threw them all in a large stock pot with just enough water on the bottom so they wouldn't burn and cooked them until soft. Then I put them through my food strainer attachment on my kitchen aid.

Using 6 cups of the unsweetened applesauce I had just made and 4 cups of sugar and 1 packet of Sure Jell for Less or No Sugar Pectin, I made jam using the directions in the package.

The pictures above aren't the best, but it turned out just perfect.

Let me know if you have a recipe you like better for Apple Jam or if you try my recipe how it comes out for you.

Tuesday, October 04, 2011

The best Apple Muffins you will ever try!

I made apple muffins today and they are the absolutely the best gluten free muffins I have ever tasted! If you are not gluten free, make these muffins using normal flour and just eliminate the xanthan gum. You can also use regular milk and use brown sugar in the topping instead of regular sugar and molasses.

If you like this recipe as much as I do and you have an apple tree in your back yard or just got back from the orchard you might want to chop some up and freeze them in just the right amount for this recipe. You don't have to blanch them, just chop them up and put them in freezer containers and you are good to go.

Kathi’s Out of this World GFCF Apple Muffins

1 ½ cups gluten free flour mix (I used Bob’s Red Mill)
¼ teaspoon xanthan gum
½ cup organic raw sugar
2 teaspoons baking powder
½ teaspoon salt
1 teaspoon cinnamon
½ teaspoon nutmeg
2 eggs
½ cup vanilla almond milk
¼ cup coconut oil
1 ½ cups finely chopped apples (about 1 large or 2 small)

Topping:
¼ cup organic raw sugar
1 teaspoon molasses
1 tablespoon gluten free flour
2 tablespoons gfcf margaine (I used Earth Balance sticks)
½ cup gluten free oats (or substitute quinoa or finely chopped nuts)

In a medium bowl, combine the dry ingredients and mix thoroughly.

In a small bowl, beat eggs and then add the almond milk and coconut oil and mix well.

Pour the wet ingredients into the dry ones and stir until just combined (do not over mix).

Gently fold in apples.

Divide mixture up between 12 muffin tins that have been either greased or lined with paper.

Combine topping ingredients until crumbly and sprinkle over muffins.

Bake at 400 degrees for 18 to 22 minutes or until a toothpick inserted near the center comes out clean.